HOW TO ORDER
STEP 1 – Calculate the roof area and select product
Use blueprints or physically measure the area to be covered with cedar shingles or shakes. Be sure to account for waste – usually 10% for simple roofs and walls, more for complex roofs with many hips and valleys may require more. See further below for roofing terms and description.
You can use roofing calculators online to help determine the required quantity:
https://www.spikevm.com/calculators/roof/gable-roof-shingles.php
STEP 2 – Calculate the eave line lineal measure
The first row of shingles or shakes at the eave line must be at least doubled. Use the length of the eave line, divided by the lineal content of ridge cap per bundle to calculate how many bundles are needed.
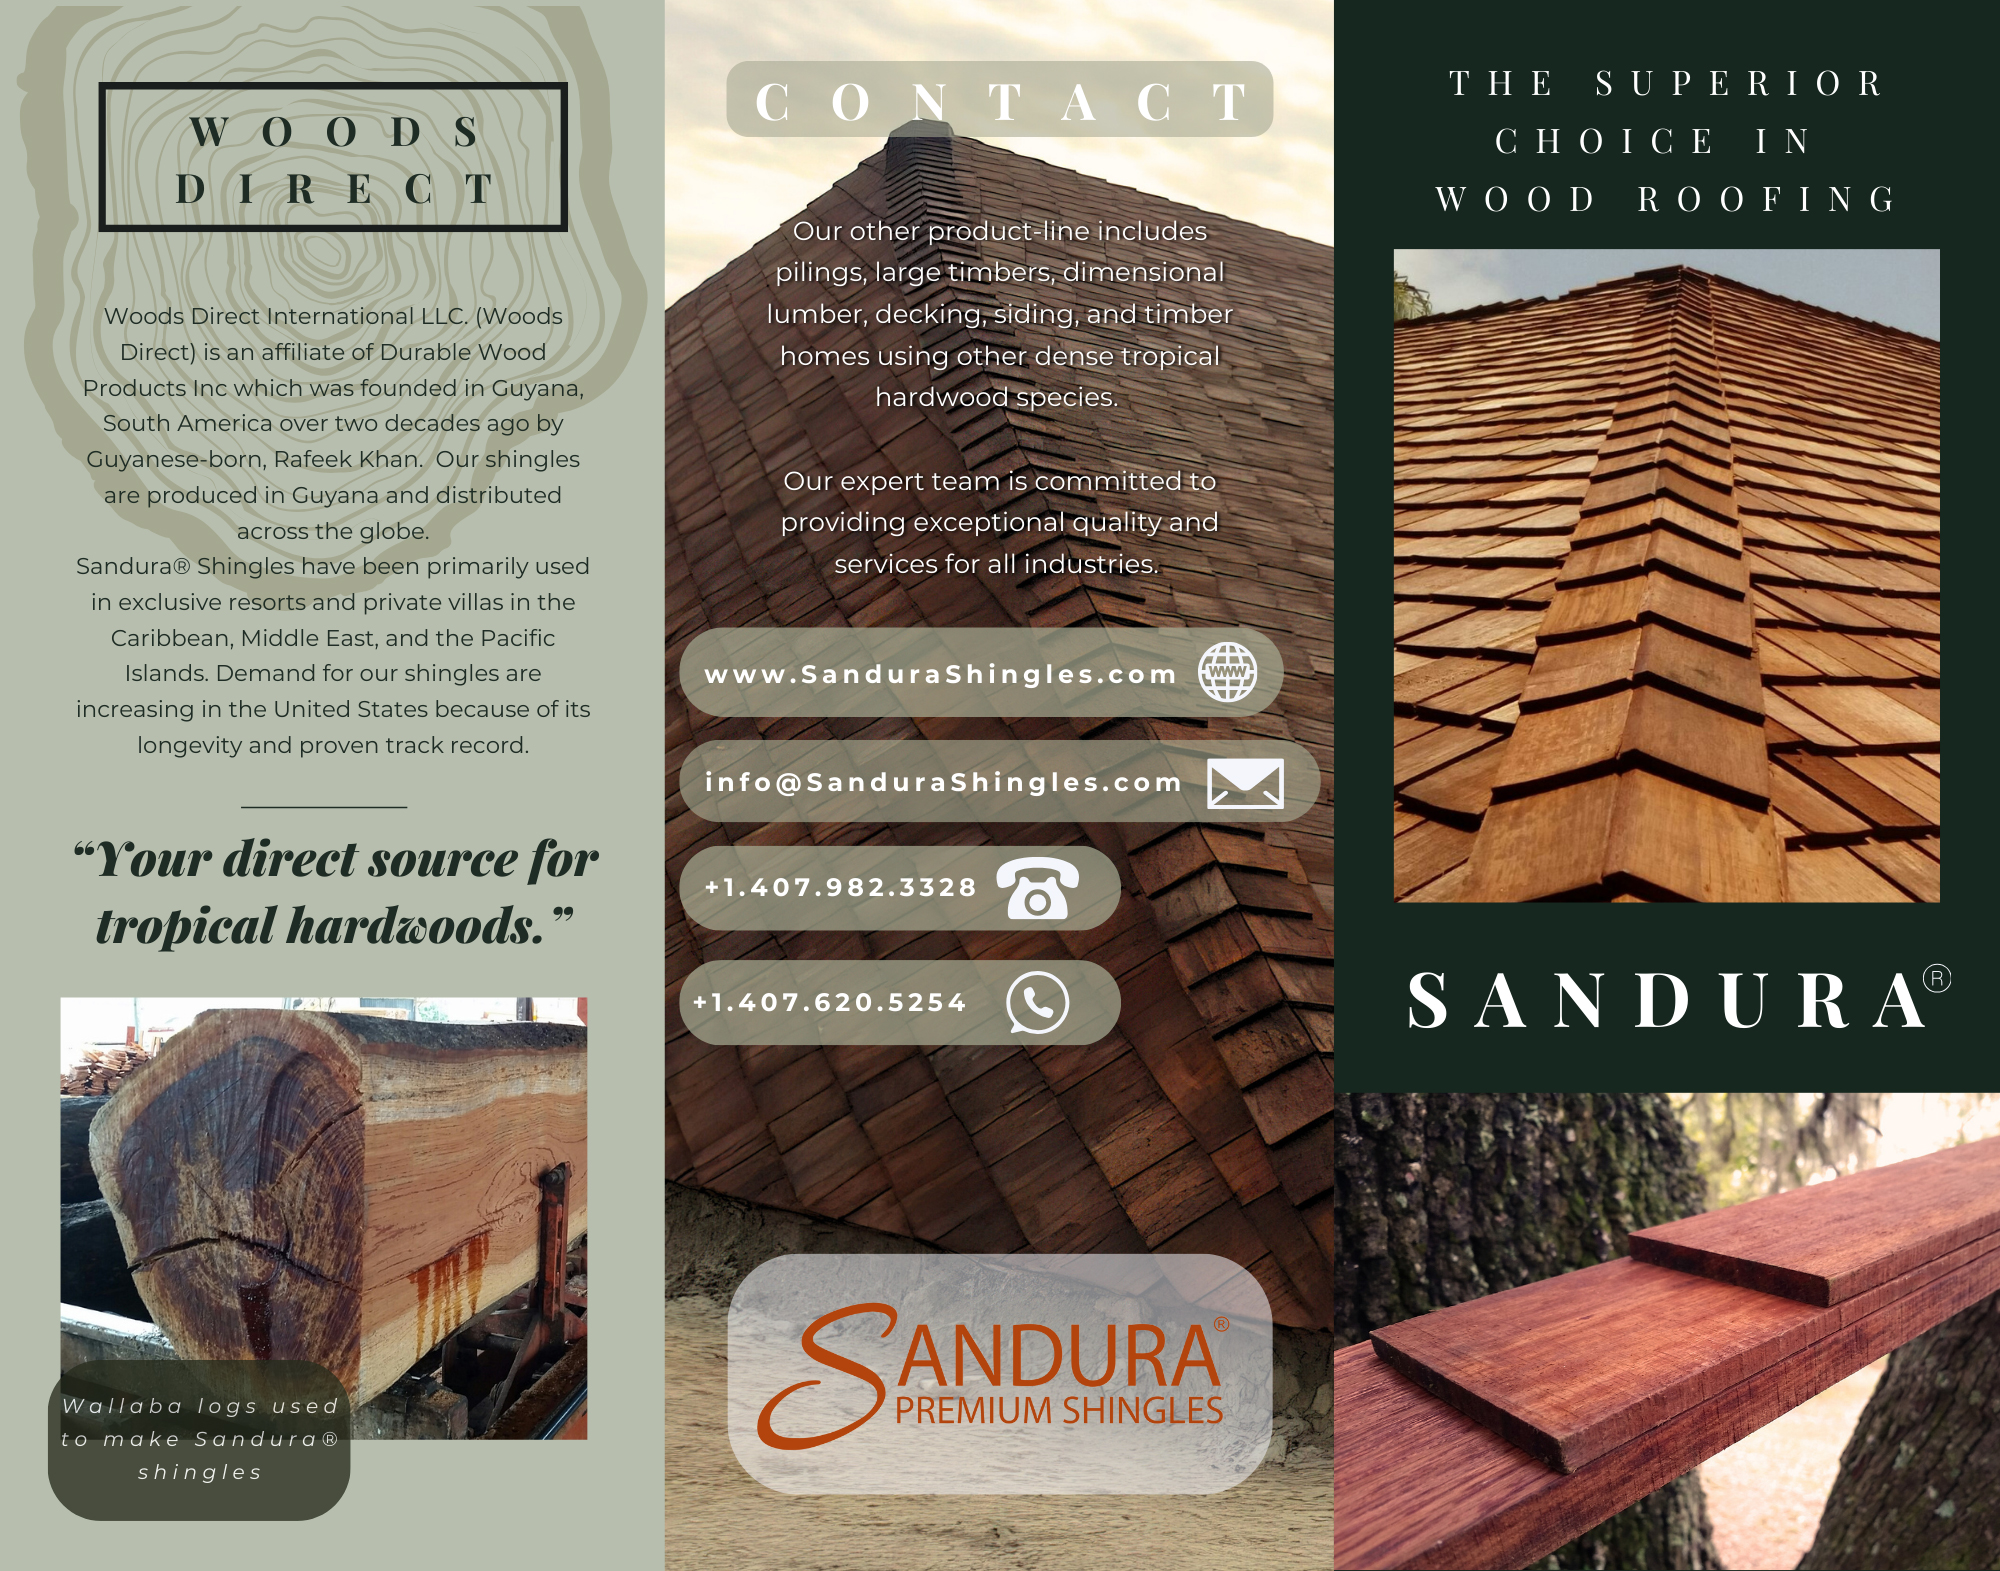
STEP 3 – Calculate the hip & ridge lineal measure
Measure the length of hip and ridge on your roof. This will tell you how many bundles of Pre-made Hip & Ridge Cap units you will need. It is not a requirement that you order Hip & Ridge shingles. You may choose to make your own Hip & Roof Shingles on site.
STEP 4 – Provide delivery location
The delivery location is important for us to determine the freight cost to your destination. Provide your City and Country name. For US Destination, please provide complete address or City name and ZIP Code.
STEP 5 – Submit your request on our contact form
After submitting your requesting a sales representative will email you a quote.
STEP 6 – Ready to place order
After reviewing and accepting our quote, an order confirmation will be sent to you with payment terms and conditions. For most order a deposit payment is required for your order to commence. The deposit will be determined at the time of your order.
STEP 7 – Payment and shipment
After production is complete, your order will be shipped from our factory or a distribution location nearest you. Payment will be required as per determined terms at the time of order.
Roofing Terms and Description:
Anatomy of a Roof

Roofing Terms
- Roof over — Applying a new, additional layer of shingles on top of an already existing shingle roof. Typically, the maximum number of layers allowed is two.
- Roof replacement— Removing an existing shingle roof before installing a new one
- Square— Amount of roofing material needed to cover 100 sq. ft. ( A 1,000 sq. ft. roof would require 10 square of roofing material)
- Slope — (also referred to as pitch) The angle of a roof; a roof with a 4/12 slope drops 4 feet in a 12 foot run, while a 12/12 roof is at a 45-degree angle
- Deck— Wooden board used to support the roof, spans the framing joists/trusses
- Flashing — Roofing material or metal used to cover intersections of the roof with vents, skylights, chimneys, valleys, all vertical surfaces, and any change in the roof’s direction
- Valley — The internal angle where two roof planes meet
- Ridge — A roof’s peak; the top intersection of two roof planes
- Eave — Overhanging lower edge of a roof
- Rake — Overhanging pitched edge of a roof; also refers to the board/molding placed along the side of a gable roof end
- Drip edge — (also referred to as a gutter apron) A metal strip installed along the edges of a roof to direct water away from trim and gutters
- Roofing battensalso called roofing lath, are used to provide the fixing point for roofing materials. The spacing of the battens is typically equivalent to the exposure.
- Roof shingle exposure is definedas the amount of a shingle whose upper surface is not overlapped by the next successive shingle course or in some roofing patterns, the amount of the shingle that is not overlapped by a side-adjacent shingle.
- Top Lap is the roofing covered by the succeeding course after installation.
- Side Lap is referred to as a side joint, vertical joint, keyway, bond line or rain course.